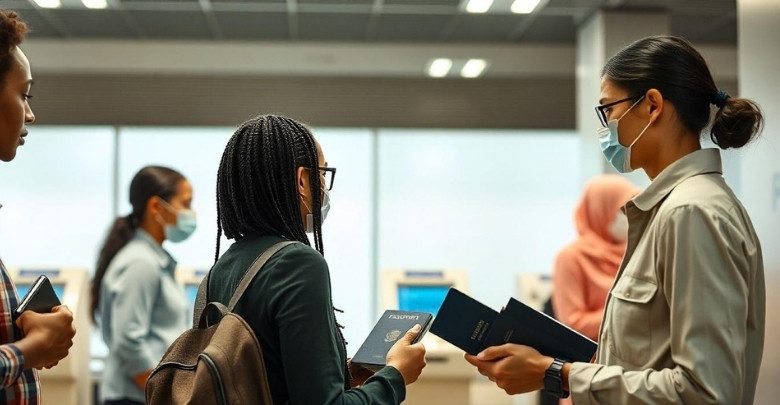
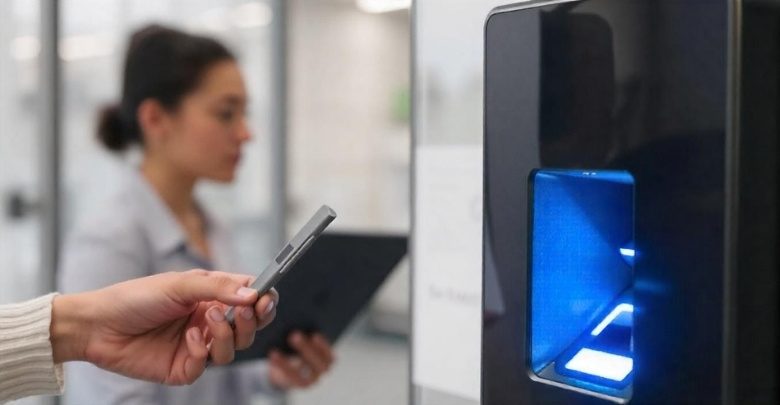
It can be challenging to get through the application process, especially when it comes to paying for biometrics. Once you’ve submitted your application, the next step involves handling the biometrics fee. This critical step ensures that your application process continues smoothly and without delay. So, how can I pay for biometrics after I submitted my application?
The process is straightforward: pay the fee online, then upload your receipt to your IRCC secure account or use the Web form, depending on whether you applied online or on paper. Following these steps will ensure your application is processed promptly.
Ready to dive deeper? Follow the rest of the article for a step-by-step guide and additional tips.
The Role of Biometrics on Visa Approval- What is it?
Biometrics plays a key role in modern visa approval processes. Governments use fingerprints and facial recognition to verify identities. This technology helps prevent fraud and ensures security. Understanding biometrics is essential for anyone applying for a visa.

When you apply for a visa, you provide biometric data at a designated center. This includes scanning your fingerprints and taking your photograph. Officials use the data to check your background and identity. In the case of Canada visa applications, Canada visa process after biometrics involves waiting for immigration authorities to approve your application.
Biometrics not only increases the accuracy of visa processing but also reduces the risk of identity theft and fraudulent applications. As more countries adopt biometric systems, global travel becomes safer and more efficient. Staying informed about biometrics ensures a smoother visa application experience and helps you stay prepared for the evolving travel requirements.
Requirements for Successful Biometrics Process
The biometrics process is a key step in many applications, designed to securely verify your identity through fingerprinting and photography. Following the correct guidelines ensures a hassle-free experience, minimizing the risk of delays or complications. To avoid delays or issues, follow these requirements closely for a successful experience.
- A printed, valid appointment notice is essential to enter the biometrics center. Without it, you’ll likely need to reschedule your session.

- Bring a government-issued ID that matches your name on the appointment notice. This could be your passport, driver’s license, or similar ID.
- If relevant, prepare all required supportive documents for the application. They provide extra verification, showing your eligibility or purpose for the appointment.
- Being on time avoids any potential waitlist or rescheduling. Arriving late could mean losing your spot, causing delays in the process.
- Wear comfortable clothing that’s appropriate for a formal setting. This ensures you’re both presentable and at ease during the biometrics process.
- Leave electronic devices like cell phones and smartwatches outside the center. They aren’t permitted inside to maintain a secure environment.
- Follow all health and safety guidelines posted at the biometrics center. These might include wearing masks or observing social distancing for everyone’s protection.
How Can I Pay for Biometrics After I Submitted My Applications?
When you submit a visa or residency application, paying for biometrics is a crucial step in verifying your identity. This process can seem confusing, but it’s actually quite straightforward once you know the steps involved. Here’s a simple guide to help you get through the payment process for biometrics after you’ve submitted your applications.
Step 1: Check Your Application Confirmation
Once you submit your application, you should receive a confirmation email or notice. This notification usually contains instructions or a reference number crucial for the next steps, specifically applying for biometrics for Canada. Carefully follow these instructions to avoid any missteps that could delay your process. This first step ensures that everything is set up correctly for the subsequent payment phase.
Step 2: Visit the Official Payment Portal
Access the official website mentioned in your application confirmation. This website features a secure section dedicated to processing biometrics fees. Before making any payments, verify that your internet connection is secure to safeguard your personal information. This precaution helps prevent potential security breaches during the transaction.
Step 3: Enter Your Payment Details
At this stage, input your application reference number and personal details into the payment portal. You will be prompted to enter your payment information, such as credit card numbers. It is crucial to double-check all entries to avoid mistakes that could complicate your payment confirmation. Accurate information entry is key to a smooth payment process.
Step 4: Confirm and Print Receipt
After entering your payment details, proceed to confirm the transaction. Successful payment will generate a digital receipt, which you should print or save electronically. Keeping this receipt is essential as it is required at your biometrics appointment. This final step completes the payment process and ensures you are ready for the next phase of your application.
How Much is the Biometrics Fee?
Biometrics fees are integral to processing many official applications, such as those for visas and immigration. These fees vary significantly from country to country and can also depend on the specific application type. Understanding the cost and factors influencing it can help you budget and plan better for your application process.
Biometrics Fee Variation
In the United States, the biometrics fee is typically wrapped into the main application fee for most immigration processes. For instance, when you apply for a Green Card or citizenship, you usually don’t pay separately for biometrics. This makes it easier as you manage only one payment during your application submission.
However, certain forms, such as those for deferred action or renewal of permission to work, may still require a separate biometrics fee. Always check the latest guidelines from the U.S. Citizenship and Immigration Services (USCIS) website to ensure you understand what payments are necessary for your specific application.
Biometrics Fee in Canada
For those applying in Canada, the biometrics fee stands at $85 CAD for an individual. This fee applies to various visa types, including work, study, and visitor visas. It’s a separate charge that is typically paid when you submit your application online or at a visa application center.
If you’re applying as a family, the maximum fee caps at $170 CAD for all members applying together. This family fee applies only when members apply simultaneously and at the same location. It’s designed to reduce the financial burden on families traveling or immigrating together.
Biometrics fees can vary greatly depending on your destination country and the specifics of your application. Always verify the current fee structure on the official government or embassy website to avoid any surprises. Planning ahead with the correct fee information ensures a smoother application process.
Common Issues and Solutions for Biometrics Fee Payment
Paying the biometrics fee is a straightforward part of many application processes, yet it can sometimes lead to confusion and errors. Knowing the common pitfalls and how to navigate them can save you a lot of time and stress. Here’s a breakdown of frequent issues with biometrics fee payments and practical solutions to tackle them:
- Incorrect Fee Amount: Sometimes, applicants pay the wrong amount due to outdated information. Always check the latest fee on the official government website before payment.
- Payment Method Errors: Certain payment methods may not be accepted. To ensure compliance, verify accepted payment options on the application portal.
- Delayed Payment Confirmation: Delays in receiving payment confirmation can cause anxiety. If confirmation is slow, contact support via the provided channels for reassurance.
- Technical Issues During Payment: Online payment portals can experience downtimes. If you face technical issues, try completing your transaction during off-peak hours.
- Currency Conversion Problems: Applicants paying from abroad might encounter issues with currency conversion. Use a reliable payment method that handles currency exchange accurately.
- Receipt Misplacement: Losing your payment receipt can complicate matters. Always save and print a copy of your receipt right after making the payment.
While paying the biometrics fee is usually a simple step, being prepared for potential issues can make the process smoother. Remember, most problems have straightforward solutions, so staying informed and proactive is key to a hassle-free payment experience.
How Long Does it Take to Complete the Biometrics Process?
The biometrics process is a critical step in many visa and residency applications, designed to verify identities through fingerprinting and photography. Though the actual biometrics appointment is quite swift, typically lasting only about 15 to 20 minutes, the entire process from start to finish can extend much longer. The duration largely depends on several factors that affect how quickly your application moves forward after your biometrics are taken.
Appointment Availability
Securing an appointment for biometrics can vary widely by location and demand. High-demand periods may lead to longer waiting times to schedule your visit. It’s best to book as early as possible to avoid delays. Checking frequently for open slots can sometimes yield earlier appointments.
Processing Speed of the Biometrics Facility
Once at the facility, the process of capturing your biometrics is quick. Most applicants are in and out within about 20 minutes. However, facilities with more staff and resources typically handle applicants faster. It’s useful to check reviews of the facility beforehand to know what to expect.
Background Checks
The lengthiest part of the biometrics process involves background checks. These are thorough and can take several weeks to months to complete. The complexity of your background can affect this timeline. Patience is crucial during this stage as it ensures a thorough review.
Workload of the Processing Center
The specific visa office handling your application also impacts processing time. High workloads can slow down the process considerably. It’s helpful to track Canada visa application after biometrics to get real-time updates. Understanding the workload trends can give you a better estimate of waiting times.
Type of Application
Different types of applications undergo various levels of scrutiny, affecting how long the process takes. For example, residency applications might take longer than short-term study visas. Each application type has its own set of requirements and checks. Being aware of these can help set realistic expectations.
FAQs About How Can I Pay for Biometrics After I Submitted My Application?
When applying for visas or other services requiring biometrics, it’s important to understand the payment process for the biometrics fee. Here are seven frequently asked questions to guide you through the payment steps after submitting your application.
What Payment Methods Can I Use for the Biometrics Fee?
You can typically pay the biometrics fee using a credit card, debit card, or bank transfer. Ensure your card is authorized for online international transactions if applying from abroad. Always check with your bank to confirm any potential fees for international transactions.
Can I Pay the Biometrics Fee at a Visa Application Center?
Yes, you can pay the biometrics fee directly at designated visa application centers. Check the specific center’s accepted payment methods beforehand. It’s also a good idea to bring multiple payment options in case your preferred method is not accepted.
Is It Possible to Pay the Biometrics Fee After Submitting My Application Online?
Absolutely, most systems allow you to pay the biometrics fee online immediately after submitting your application, usually through a secure payment portal linked to your application profile. Make sure to complete this payment promptly to avoid any delays in processing your application.
What Should I Do if I Don’t Receive a Payment Confirmation?
If you don’t receive a payment confirmation within a few days, contact the application center’s customer service for verification and further guidance. It’s essential to keep records of your transaction for reference when you reach out for assistance.
Are There Additional Charges for Biometrics Fee Payment Processing?
Some payment methods or channels may include a processing fee. Always verify the total cost before finalizing your transaction to avoid surprises. Checking the payment page for any additional charges can help you plan your budget more effectively.
Can I Get a Refund if I Overpay the Biometrics Fee?
Refunds for overpayments depend on the issuing authority’s policies. It’s advisable to contact them directly to inquire about the possibility and process of obtaining a refund. Keep your payment confirmation handy to expedite the refund process.
Endnotes
A smooth application process requires understanding and managing biometrics fees in order to avoid unnecessary delays. It’s clear that while the process might seem daunting initially, understanding the specific requirements and common issues can greatly simplify it. By following the structured steps and preparing for potential payment obstacles, you can minimize stress and errors.
If you’re ever unsure about how to proceed, always refer back to the official guidelines provided in your confirmation email or on the application portal. How can I pay for biometrics after I submitted my application? Simply follow the outlined steps to secure and confirm your payment, ensuring that you keep all receipts and transaction records for future reference. This proactive approach will help ensure that your application isn’t delayed by any payment issues.


