Capturing the essence of a conference through photography can be a challenging yet rewarding experience. The key to success lies in understanding and mastering the right camera settings. But you might be wondering, “What camera settings are best for Conferences?”
The answer lies in balancing three main elements: aperture, shutter speed, and ISO. Ideal settings include a mid-range aperture (f/5.6-f/8), a shutter speed of at least 1/60th second to avoid motion blur, and an ISO level adjusted to the lighting, ideally under 800 for the best quality.
Are you curious to know more about camera settings? Dive into our comprehensive blog to explore these settings in detail and elevate your conference photography skills!
What is Conference Photography?
Conference photography involves capturing high-quality images during conferences and corporate events. Skilled photographers use professional equipment to document keynote speakers, panel discussions, and attendees.
Conference photographers must be unobtrusive while capturing candid moments and speaker presentations, essential for creating engaging marketing materials, social media posts, and documenting the event’s highlights, making them indispensable for those who participate in international conferences.
To excel in conference photography, photographers need to possess excellent communication skills, adaptability, and the ability to work in diverse environments. This field offers opportunities for both freelance and in-house photographers to showcase their talent.
Significance of Camera Settings in Conference Photography
In conference photography, camera settings play a pivotal role in capturing high-quality, memorable shots. Here’s why they matter:
- Exposure Control: Aperture, shutter speed, and ISO regulate exposure, ensuring well-lit and clear images in varying lighting conditions.
- Depth of Field: Aperture settings affect the depth of field, allowing you to focus on specific subjects or capture the entire conference scene.
- Motion Capture: Shutter speed prevents motion blur, crucial when attendees are on the move or during fast-paced presentations.
- Image Quality: Managing ISO levels prevents noise in photos, maintaining high-quality and professional-looking images.
- Creative Control: Proper settings empower you to be creative, emphasizing certain elements or creating artistic effects.
- Consistency: Consistent camera settings across shots ensure a cohesive collection of conference memories.
Mastering the best camera settings for conferences enhances the significance of your conference photography, enabling you to capture moments with precision and creativity. Elevate your photography game and make lasting memories.
What Camera Settings Are Best for Conferences?
Capturing the essence of a conference through photography demands a keen eye and the right camera settings. Whether you’re a professional photographer or an attendee wanting to preserve memories, understanding these settings is essential. Here’s an exploration of what camera settings are best for conferences:
Aperture Settings
The aperture, represented by an f-number, controls the amount of light entering the lens and influences the depth of field. Opt for a mid-range aperture (typically f/5.6 to f/8) for balanced results. This aperture range ensures that both your subject and the background remain reasonably sharp, making it ideal for capturing speakers’ and audience reactions alike.
Shutter Speed Matters
Conferences are dynamic events with speakers, attendees, and activities in constant motion. To capture clear and sharp images, maintain a shutter speed of at least 1/60th of a second. If the conference involves fast-paced movements, consider using an even faster shutter speed to freeze the action and avoid motion blur.
ISO Adjustment
ISO settings determine your camera’s sensitivity to light. In well-lit conference halls, keep the ISO low (around 100-400) to produce noise-free photos with excellent image quality. In low-light conditions, such as dimly lit and well-organized conference rooms, increase the ISO (800-1600) to capture clear images without sacrificing quality. However, be mindful of noise, which may become noticeable at higher ISO levels.
White Balance for True Colors
The white balance setting ensures accurate color reproduction in your photos. Conferences may have various lighting sources, such as fluorescent or tungsten lights. While auto white balance often works well, consider manually adjusting it to match the specific lighting conditions for true-to-life colors in your images.
Focus and Depth of Field
Use autofocus to ensure your subjects are sharp and clear. Depending on your composition goals, consider depth of field. For isolating individual speakers or capturing specific details, choose wider apertures (f/2.8) to create a shallow depth of field. For group shots or scenes with multiple elements, opt for narrower apertures (f/8) to keep everything in focus.
RAW vs. JPEG
Select the file format that suits your needs. Shooting in RAW preserves more image data and provides greater flexibility during post-processing. If you plan to edit your photos extensively, RAW is the preferred choice. However, if you need ready-to-share images, JPEG is a suitable option as it offers smaller file sizes and immediate usability.
Mastering these camera settings is crucial for great conference photos. Try different settings to adapt to changing light and capture the conference with clarity. Improve your skills and create memorable photos that truly represent the event.
Popular Types of Cameras You Can Use at a Conference
When it comes to capturing the essence of an event through photographing a conference, the choice of the right camera is crucial. Each camera type offers unique advantages, ensuring you can effectively capture those memorable moments. Here are popular camera types to consider:
DSLR Cameras
DSLRs (Digital Single-Lens Reflex) offer versatility with interchangeable lenses, making them ideal for various conference scenarios. Their larger sensors excel in low light, providing exceptional image quality and depth of field control. This makes them perfect for capturing both the speaker’s and the audience’s reactions in high detail.
Mirrorless Cameras
Compact and lightweight, mirrorless cameras provide DSLR-like performance in a smaller package. They use electronic viewfinders or LCD screens for composing shots, making them user-friendly. Their fast autofocus and ability to use a variety of lenses make them suitable for capturing conference moments with precision.
Compact Cameras
Point-and-shoot cameras are user-friendly and pocket-sized, making them convenient for on-the-go conference photography. While they may have limitations in low light, modern compact cameras offer impressive image quality and features, including zoom capabilities and intelligent auto modes.
Smartphone Cameras
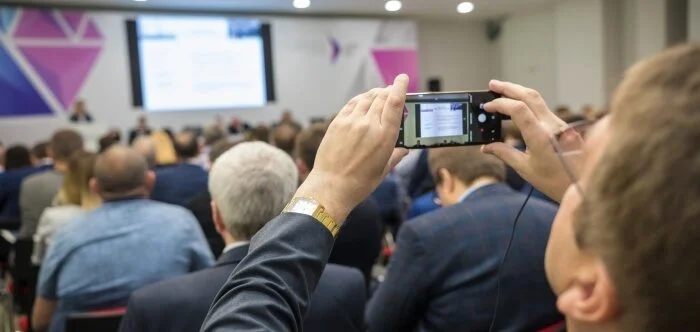
Modern smartphones boast impressive camera capabilities. They’re perfect for quick, candid shots and live updates during conferences. With multiple lenses, AI enhancements, and video recording options, smartphones are versatile tools for capturing the essence of a conference.
Camcorders
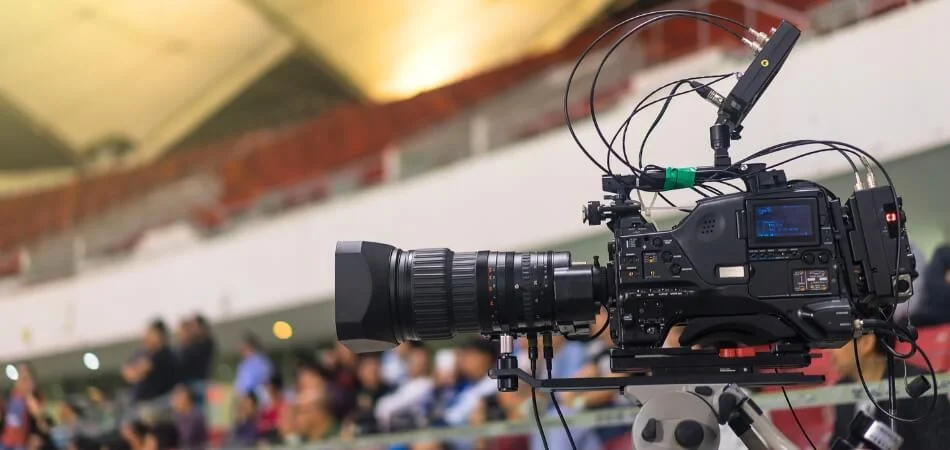
Camcorders specialize in video recording, making them suitable for capturing presentations and speeches in high-quality video. They often have features like image stabilization and external microphone inputs, ensuring professional video production during conferences.
Action Cameras
Small and rugged, action cameras are perfect for capturing dynamic conference activities like workshops and outdoor events. They’re known for their wide-angle views and durability, making them suitable for recording action-packed moments without worry.
The camera you choose for conference photography should match what you like and need. Each type has its perks, so go with the one that fits your style and helps you capture conference memories well. Whether it’s a DSLR for great photos or a smartphone for easy sharing, the right camera makes conference photography better.
How to Take Good Pictures at a Conference?
Conferences are packed with valuable moments to capture. Whether you’re a professional photographer or an attendee with a smartphone, this step-by-step guide will help you take stunning pictures that preserve the essence of the event:
Step 1: Prepare Your Gear
Start by checking and cleaning your camera or smartphone. Ensure you have fully charged batteries and sufficient storage. Additionally, consider bringing a tripod or stabilizer for steady shots and extra memory cards for extended coverage.
Step 2: Understand the Venue
Before the conference begins, explore the venue. Identify key locations, lighting conditions, and potential obstacles. Understanding the space will help you plan your shots effectively, allowing you to anticipate where the most interesting moments will unfold.
Step 3: Optimize Camera Settings
Adjust your camera settings according to the venue’s lighting. Use a mid-range aperture for a balanced depth of field, maintain a fast shutter speed to prevent motion blur, and set the ISO based on available light. Ensure the white balance is accurate for true-to-life colors.
Step 4: Capture Candid Moments
Conferences are filled with candid moments of interaction and engagement. Be discreet and ready to snap pictures of speakers, attendees networking, and genuine reactions. Candid shots often convey the conference’s atmosphere authentically.
Step-5. Frame Your Shots Thoughtfully
Pay attention to composition. Frame your subjects carefully, avoiding distractions in the background. Use the rule of thirds to create visually pleasing images. Experiment with different angles and perspectives to add depth to your photos.
Step 6: Be Mindful of Etiquette
Respect the conference rules and privacy of attendees. Avoid blocking views or disrupting sessions to get the perfect shot. Seek permission if necessary and be considerate of those around you. Remember that courtesy enhances your reputation as a conference photographer.
In the end, knowing the best camera placement for conferences will not only capture moments but also contribute to the conference’s story. By following these steps, you’ll be well-prepared to create a visual record that truly reflects the event’s significance while being a respectful and unobtrusive photographer.
Essential Tips for Adjusting Camera Settings During a Conference
Mastering camera settings at a conference is crucial for capturing the moment effectively. Whether you’re an enthusiast or a professional photographer, these essential tips will help you make the most of your equipment and the conference environment:
- Understand Lighting: Assess the venue’s lighting conditions and adjust ISO, aperture, and shutter speed accordingly. Lower ISO for well-lit areas and increase it in low light.
- Prioritize Shutter Speed: Maintain a fast shutter speed (1/60th or higher) to avoid motion blur, especially during speaker sessions or fast-paced activities.
- Select Aperture Wisely: Choose a mid-range aperture (f/5.6-f/8) for a balanced depth of field. Wider apertures ( f/2.8) isolate subjects, while narrower apertures (f/11) keep everything in focus.
- Set White Balance: Ensure accurate color reproduction by adjusting the white balance based on the venue’s lighting, such as fluorescent or tungsten.
- Use Autofocus: Enable autofocus for sharp images. Continuous autofocus is useful for tracking moving subjects.
- Experiment with Angles: Vary your shooting angles and perspectives to capture diverse shots. Explore different heights and positions to add depth to your photos.
- Review and Adjust: Periodically review your photos and settings, making adjustments as needed. Stay flexible to adapt to changing lighting conditions.
Adjusting camera settings during a conference requires attention to detail and adaptability. These tips will help you capture the essence of the event effectively and create memorable photos.
Frequently Asked Questions
In this section, we provide answers to common questions about taking effective conference pictures and event photography. Whether you’re a seasoned photographer or just starting, these FAQs offer valuable tips to enhance your skills and ensure you capture memorable moments. From camera settings to techniques, you’ll find insights to help you take great photos at any event.
How to Take Good Conference Pictures?
To take good conference pictures, focus on natural moments by capturing attendees engaging in discussions, networking, or enjoying activities. Use proper lighting, avoid cluttered backgrounds, and shoot from various angles. Encourage candid shots for authenticity, and don’t forget to snap some group photos to celebrate connections made during the event!
What ISO to Use for Event Photography?
For event photography, an ISO of 400 to 800 is generally ideal in well-lit settings, ensuring clear images without too much noise. In dimmer environments, you might increase it to 1600 or higher. Just remember, the goal is to balance light and clarity while preserving the event’s atmosphere.
What Are the 3 Most Important Camera Settings?
The three most important camera settings are aperture, shutter speed, and ISO. Aperture controls the depth of field, affecting how much of the scene is in focus; shutter speed captures motion, balancing blur and clarity; and ISO determines sensitivity to light, helping you achieve the right exposure in various conditions.
How Do You Photograph Professionally?
To photograph professionally, master your camera settings, understand lighting, and compose shots thoughtfully. Develop a keen eye for detail and storytelling, and communicate effectively with subjects to capture genuine moments. Practice consistently, seek feedback, and stay open to learning; passion and dedication will elevate your photography to a professional level.
Should I Use Auto or Manual Focus During a Conference?
During a conference, it’s generally better to use manual focus. This ensures that you maintain a consistent focus on participants and avoid unexpected shifts that can occur with auto focus. Take a moment to set your focus before the action starts, allowing you to capture those genuine, engaging moments seamlessly.
Bottom Line
Advanced conference photography requires a keen understanding of camera settings. “What camera settings are best for conferences?” is a question that finds its answer in achieving the right balance between aperture, shutter speed, and ISO. These technical aspects are the foundation for capturing the essence of conferences effectively.
However, it’s not just about the settings; it’s also about the art of being a considerate and unobtrusive photographer. Framing shots thoughtfully, anticipating candid moments, and respecting conference etiquette is equally vital. By following these guidelines and continuously adapting, you can elevate your conference photography skills.
So, whether you’re a seasoned professional or an enthusiastic attendee, remember that the magic of conference photography lies in mastering both the technical and artistic aspects. It’s about creating visual memories that authentically represent the event’s significance.


