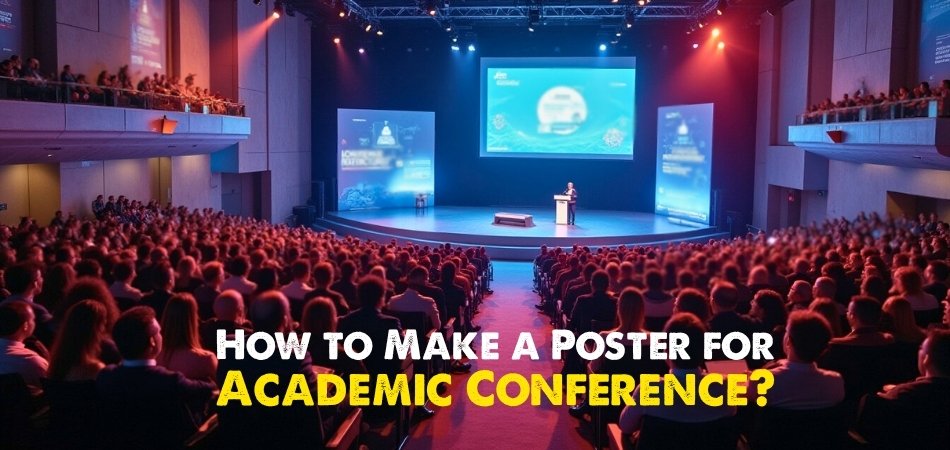
One of the easiest ways to present your research in an understandable and visual format is through academic conference posters. They don’t need to be fancy or full of text to be effective. Many people often wonder how to share their ideas the right way, and that’s when the question comes up—how to make a poster for academic conference?
Make an academic poster by focusing on one clear idea. Use big fonts, short text, and helpful visuals. Arrange the title, methods, and results neatly. Choose clean colors and test readability. Practice a short talk to explain your poster easily.
Are you curious about the steps, design tools, and best tips for creating a great academic poster? Keep reading this article to find everything you need from layout ideas to printing tips—all in one place to make your work stand out.
How to Make a Poster for Academic Conference?
Making a poster for an academic conference is a great way to share what you’ve worked on. It helps others understand your research without needing a long explanation. If you want your poster to stand out, here’s how to do it right.
Clear Your Message
Always begin with your main idea. What’s the one thing you want others to remember after seeing your poster? Write a short and simple summary that explains your topic, method, result, and why it matters. This helps you stay focused and makes sure your poster doesn’t feel too crowded with information that doesn’t support your core message.
Layout Sketch
Once your message is clear, sketch how you want the poster to look. You can draw it on paper or use any design tool. Arrange the parts in a way that flows naturally: title, introduction, methods, results, and conclusion. Place your most eye-catching visual, like a chart or image, in the center. This helps grab attention right away and invites people to read more.
Design Tools
Choose tools that make designing easier. PowerPoint and Canva are both popular and easy to use. They let you move things around and adjust everything as needed. If you’re preparing a poster for international events like upcoming conferences in Canada, the USA, or any other country, having a clear design ready early can save you a lot of stress later and help match the event’s style guidelines.
Font and Color
Use large fonts that people can read from a short distance. Titles should pop, headings should stand out, and the main text should be simple to follow. Choose two or three colors that look good together and keep the design clean. Leave plenty of empty space so it doesn’t look messy. A clean look helps your message shine without making readers feel overwhelmed.
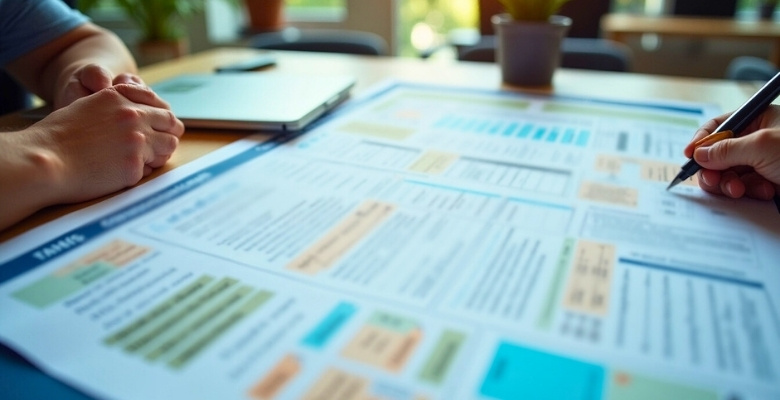
Visual Elements
Let your visuals do the talking. A good chart or diagram can explain something faster than text. Choose strong images that connect directly to your topic. Add clear labels and short captions so viewers know what they’re looking at. Avoid putting too many visuals side by side, as this can make your poster hard to follow and take away from the main point.
Keep Text Light
Write only what’s needed. Use bullet points and short sentences to explain your points. Make sure your headings are clear and simple. Try not to use complex words—just explain things the way you would in a friendly chat. This makes it easy for anyone walking by to quickly understand what your work is about without needing to read everything.
Test for Clarity
Take a step back and look at your poster from a few feet away. Can you still read the main points? If not, make your text bigger or move things around. You can also print a smaller version to see how it looks on paper. Show it to a friend for feedback—they might notice if something doesn’t look right or is confusing.
Final Print Setup
Save your file in a good format like PDF and make sure the quality is high. Avoid placing anything too close to the edges. Some people print on paper, while others prefer cloth if they need to carry it while traveling. Choose what fits your needs best and give yourself plenty of time in case there are any printing issues or delays.
Practice Your Talk
You don’t need to memorize a speech, but having a short explanation ready really helps. Practice a 1–2 minute version where you tell people what your poster is about, what you did, and why it matters. This makes it easier to talk to people during the event and helps them understand your work faster without needing to read every word.
A great academic poster doesn’t need to be complicated. Focus on one clear idea and present it in a neat, easy-to-follow way. Let your visuals and short text do most of the talking. With the right design and a little practice, your poster can make a strong impression.
What Key Sections Should You Include in an Academic Conference Poster?
Academic posters are more than just printed pages; they help you explain your research in a simple and clear way. If you want your poster to make sense and look great, keep reading the key sections below carefully.
Title & Authors
Your title should quickly tell others what your research is about. Try to keep it short and clear. Right under the title, list all author names and their school or organization. Make sure everything is spelled right and easy to read. A good title can grab attention from across the room and help people decide to stop and learn more. It sets the tone and gives your poster a clear starting point.
Introduction & Abstract
Start this section with a few lines that explain why the topic matters. After that, share a short abstract that highlights your main goal. Keep it simple—what were you trying to learn or find out? This part helps the reader get a quick idea before they dive into details. If done well, this section makes it easier to understand the importance of conference poster in helping others follow your main point without confusion.
Methods Used
This part tells people how you did your work. You don’t need every single detail, just the steps that helped you get your results. Mention tools, materials, or any special techniques used. Try to use clear words so anyone can follow along. Keeping this section neat helps the audience see that you did careful work, even if they don’t know much about your topic.
Results Section
This is where you show what happened. Use simple charts, graphs, or even pictures to help explain your findings. Write a short note below each one to make it clear. Instead of listing numbers only, tell what the numbers mean. People understand visuals quickly, so make sure they are big enough and easy to read from a short distance. Use color if needed, but don’t overdo it.
Discussion & End
In this part, explain what your results mean and why they matter. Mention if anything surprised you or didn’t go as planned. End the section with a short conclusion that wraps everything up. This final part should remind the reader why your topic matters. Keeping your points clear and simple is a good way to help others remember your work after they walk away.
Even a small poster can leave a strong impact when the message is clear and well-organized. Each section should guide the reader without making them feel lost. Use short sentences and simple words to keep things easy to follow. When done right, your poster can speak for itself—even when you’re not there to explain it.
What Size Should an Academic Conference Poster Be?
This table outlines the standard dimensions for various poster types, providing measurements in both inches and centimeters. Whether you’re preparing a physical print, a tri-fold display, or a virtual presentation, this guide ensures your design meets the required specifications for optimal presentation.
| Poster Type | Dimensions (inches) | Dimensions (cm) |
| Standard Print (landscape) | 48 × 36 | 122 × 91 |
| Compact Print | 36 × 24 | 91 × 61 |
| Alternative Print | 42 × 30 | 107 × 76 |
| Tri-Fold Board | 48 × 36 total | 122 × 91 total |
| International (A0) | 33 × 47 | 84 × 119 |
| Virtual (HD) | 1920 × 1080 px | — |
Check the specific size requirements for your event or platform, as some may have unique guidelines. For digital submissions, ensure that the resolution matches the recommended standards. You can ask the organizing committee or technical support for clarification when in doubt.
Best Tips to Keep Your Academic Conference Poster Within the Word Limit
Posters need to look good and also make sense at a glance. Since there’s limited space, writing too much can confuse readers. That’s why keeping things short and clear really matters. Check out these useful tips below.
- Stick to Main Ideas: Only include the most important points about your topic—don’t add extra facts that don’t help explain your message.
- Use Bullet Points: Instead of writing big blocks of text, break up details into short bullets so people can read them faster and more easily.
- Avoid Long Sentences: Try using short and simple sentences. Cutting big ideas into smaller lines helps readers understand everything much quicker.
- Skip Repeating Words: Don’t say the same thing more than once in different ways—it just takes up space without adding anything new.
- Cut Unneeded Details: Take out any facts or numbers that don’t support your main point. Keeping it lean makes it more effective.
- Use Clear Labels: Add short titles or headers to each part of your poster. This helps guide the reader without needing too many words.
- Check Word Count Often: As you write, keep checking the total words. If it’s going over, trim the extra stuff that isn’t truly needed.
Being short doesn’t mean your message is weak—it means it’s focused. Keep only what matters, and your poster will stay clean, clear, and strong. Less can truly say more.
Best Software Tools to Design an Academic Conference Poster
Some posters look really neat and easy to read, while others feel crowded and hard to follow. A big part of that difference comes from the design tool you use. Let’s explore which tools can help make your poster stand out.
PowerPoint
Most people already have PowerPoint, and that makes it a very easy tool to start with. You can drag and place things anywhere you want. Shapes, text boxes, and charts are all there, ready to use. It may not have advanced design features, but it’s great for clean, simple posters. If your goal is to build something that clearly shares your research, this tool helps you get there without stress.
Canva
This one is perfect for anyone who wants their poster to look sharp without learning complicated design steps. It gives you ready-made templates, so you don’t have to guess where to place things. The drag-and-drop feature makes it super simple. For example, if you’re working on a scientific topic that needs a tidy layout, Canva keeps it clean and balanced. That’s why many people prefer it when creating an effective scientific poster with ease and style.
Adobe Illustrator
For people who want full control over how things look, Illustrator is a powerful choice. You can adjust every detail, fonts, colors, spacing, and more. But it’s not very easy if you’re just starting out. It works best if you already know how design tools work. Some advanced poster creators like using this because of the high-quality finish it offers in the end.
LaTeX
This tool is often used in science and math projects because it handles equations really well. Posters made with LaTeX have a clean and organized look. It takes a bit of time to learn since it works with code, not clicks. But once you understand the system, it makes things super neat, especially when your poster includes technical stuff or symbols.
Google Slides
This one feels a lot like PowerPoint, but it’s online and easy to share. If you’re working on a poster with someone else, this tool lets both of you edit at the same time. It doesn’t offer too many design features, but it gets the job done. For quick and basic layouts, it’s a solid option without needing to download anything special.
Each tool has its own style and level of difficulty, so it’s best to choose the one you feel most comfortable with. You don’t need to be an expert to make a good poster. What matters most is how clearly your message comes across. A simple layout with easy words often works better than something too flashy or complicated.
Do’s and Don’ts of Academic Conference Poster
Standing next to your poster is not just about sharing facts—it’s also about how you speak, move, and respond. People notice more than just your poster. Want to feel more confident during your session? Check out the tips below.
Things to Do When Presenting Your Poster
- Stand close to your poster with a friendly look so people feel welcome to come over and ask questions.
- Keep a smile and make eye contact to show you are happy to talk about your work and ready to help them understand.
- Have a short version of your project ready so you can explain it fast if someone only has a minute or two.
- Listen carefully when someone asks something and try to give clear answers without rushing or getting confused.
- Offer extra notes or a small paper with a code they can scan to see more details if they want to read later.
Things to Avoid During Your Poster Session
- Don’t just stand still and read from your poster because people want to hear from you, not see you read out loud.
- Don’t ignore people walking by — say hello and let them know you’re here to answer any questions they may have.
- Don’t argue if someone disagrees with your idea — stay calm and thank them for sharing their thoughts before explaining your side.
- Don’t leave your poster alone during the session, even if you need to grab a drink — someone might come by and want to talk.
- Don’t put too much writing on your poster since people won’t read long paragraphs — keep it simple and easy to follow.
Being well-prepared, polite, and open to feedback will help you do well during your poster session. If you practice and keep these tips in mind, you’ll feel more sure of yourself and connect better with others. There’s always more to learn about presenting your work, so keep looking for ways to get better
Tips to Make an Academic Conference Poster Visually Appealing
A good poster catches attention fast and makes your work easy to understand. It should look clean, clear, and not too busy. People should be able to read it from a few steps away and get the main idea without getting lost in the details. Here are some simple tips to make your poster look great and keep people interested.
- Use a Clear Layout: Organize your sections in order so people can follow along easily from top to bottom and left to right.
- Pick Easy-to-Read Fonts: Choose simple font styles and make sure your text is big enough to read without leaning in close.
- Go for Calm Color Schemes: Stick to 2–3 colors that match well and don’t hurt the eyes when looking at the poster.
- Make Headings Stand Out: Use bold or slightly bigger text for headings so people know where each part starts at a glance.
- Leave White Space: Don’t fill every corner with writing — give your content room to breathe so it doesn’t feel crowded.
- Use Images Wisely: Add charts or pictures that help explain your points, but make sure they’re clear and not blurry or too big.
- Balance Text and Graphics: Mix short paragraphs with visuals so your poster looks nice and people don’t get tired reading too much.
A neat, colorful, and simple poster helps your message come through clearly. When your design is easy on the eyes, more people will stop by and listen. There’s always more to learn about making posters that stand out.
How to Print and Transport Your Academic Conference Poster Safely?
Getting your poster printed and to the conference safely is just as important as making it look good. A small mistake can cause big problems. You want your poster to arrive in perfect shape, ready to impress. Planning ahead helps you avoid stress and last-minute issues. Here’s how to make sure everything goes smoothly from print to display.
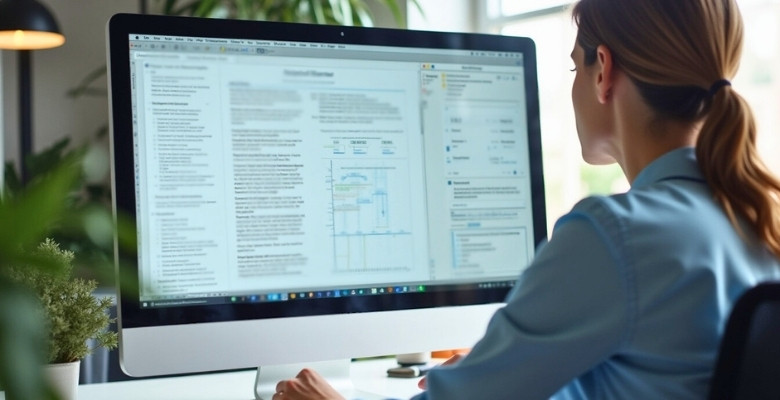
File Formats
Before printing, double-check what file type the printer needs. Most places prefer PDF because it keeps everything looking right. Make sure your images are high quality so they don’t look blurry when printed. Save your final design in that format and keep a copy on your laptop or cloud storage. This way, even if something goes wrong, you’re ready with the correct version.
Print Types
Talk to your printer about what kind of print job you need. Some posters are glossy, others matte — pick one that looks clean and professional. Make sure the size matches exactly what the event wants. It’s better to print a little early so you have time to fix any mistakes. Ask them to double-check for color accuracy and alignment before printing the final copy.
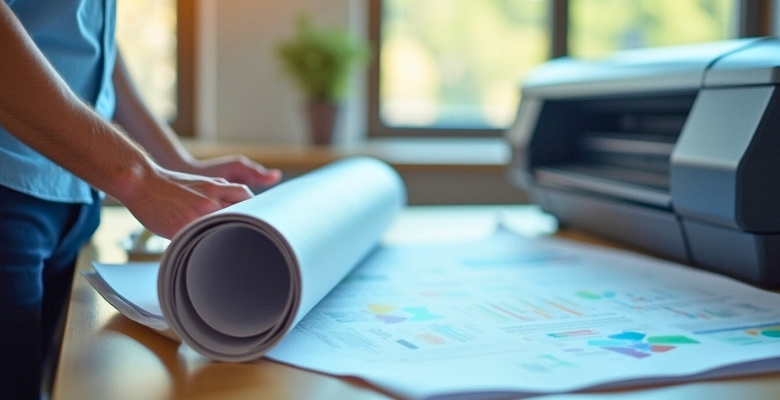
Carrying Tubes
Once your poster is printed, use a strong cardboard tube to carry it. Wrap it in tissue paper or plastic wrap to protect it from dust and damage. Label the tube with your name and session details so it doesn’t get lost. Don’t pack it in your suitcase — rolling it can leave marks. Keep it safe and upright wherever you go.
Digital Backup
Always have a digital copy of your poster saved somewhere safe, like Google Drive or Dropbox. If your printed copy gets damaged, some places can print it again quickly. Make sure the file is easy to find and send. Also, save it on a USB drive as an extra backup. You never know what might happen, so being prepared makes a big difference.
Last-Minute Problems
If something goes wrong, stay calm. Many conferences have nearby print shops in case of an emergency. Call ahead to check if they can help fast. Let the event organizers know if you’re having trouble so they can support you. Having a plan B gives you peace of mind. Always expect the unexpected and be ready to handle it.
Printing and carrying your poster with care makes a big difference. When you plan ahead, you avoid panic and show your work in the best way. There’s always more to learn about handling posters like a pro.
Frequently Asked Questions
Creating a poster for an academic conference brings up a lot of simple but important questions. Whether you’re designing for the first time or trying to improve, it’s helpful to know what really matters. These FAQs can guide you through small details that make a big difference. Explore the answers below to clear up common doubts and make your poster even better.
What File Format Should I Use to Save My Poster?
Always save your final poster as a PDF. This format keeps the layout, text, and images exactly as you designed them. PDF files also work well with most printing services. Even if you used PowerPoint or Canva to design, exporting to PDF helps avoid mistakes during printing.
How Many Columns Should a Poster Have?
Most posters have two to three columns to keep things neat and easy to follow. Too many columns can make it feel messy or confusing. The goal is to guide the reader’s eyes from left to right, top to bottom. If you’re unsure, try two columns with a wide middle space for visuals.
Can I Use Clipart or Fun Images?
It’s better to use real images, charts, or drawings related to your work instead of cartoon-style clipart. Fun images might look cute, but may take away from the serious purpose of your poster. Use visuals that clearly explain or support your main idea. Always make sure they are not blurry or stretched.
Should I Include Contact Information?
Yes, it’s smart to add a small contact section at the bottom corner of your poster. This can include your email or a QR code linked to your project. If someone wants to ask questions later, they’ll know how to reach you. Keep it short and professional-looking.
How Much White Space Should I Leave?
Leaving white space around each section helps the poster breathe. When every inch is packed, it looks messy and hard to read. Try not to fill more than 80% of the poster with content. Empty space is not a waste—it helps your important parts stand out.
What Is a QR Code and Should I Use One?
A QR code is a small square you can scan with a phone to open a link or document. You can use it to share a longer version of your project or extra files. It saves space and gives readers something to check later. Just make sure the link works and loads quickly.
How Should I Arrange Photos or Charts?
Place photos or charts near the text they explain, so people don’t get lost. Make them large enough to see from a few feet away. Add short captions to tell what they show. Don’t use too many side by side, or the poster will look crowded.
Can I Use a Template or Should I Start From Scratch?
Templates can be a great starting point, especially if you’re unsure about design. They help you arrange things quickly and stay within size limits. But don’t just copy—always change it to match your topic. A simple layout that fits your message is more helpful than something that just looks fancy.
What Happens If I Make a Mistake on the Printed Poster?
Mistakes can happen, but don’t panic. If it’s a small spelling error, most people will understand. If it’s something big, you can print a sticker or correction slip to fix it. Always check everything carefully before printing to avoid last-minute stress.
Last Words
Making a strong poster starts with clear planning and ends with smart design. From layout and font choice to visuals and short, easy text, each part plays a role. If you keep your message simple and your sections neat, people will easily understand what you’re sharing. Now you know exactly how to make a poster for academic conference. Keep it clean, focused, and friendly for the reader.
Before you print, always check size rules and use the right file format. Carry your poster safely, stay calm if problems happen, and practice your talk. Keep your words short, use visuals smartly, and let your poster speak clearly. With all these tips in mind, best of luck with your poster presentation—go impress your audience with confidence!